
Colorado Custom Deck Design Ideas — Real Builds.
Every photo is a Haka project in the south Denver metro. Steal freely.
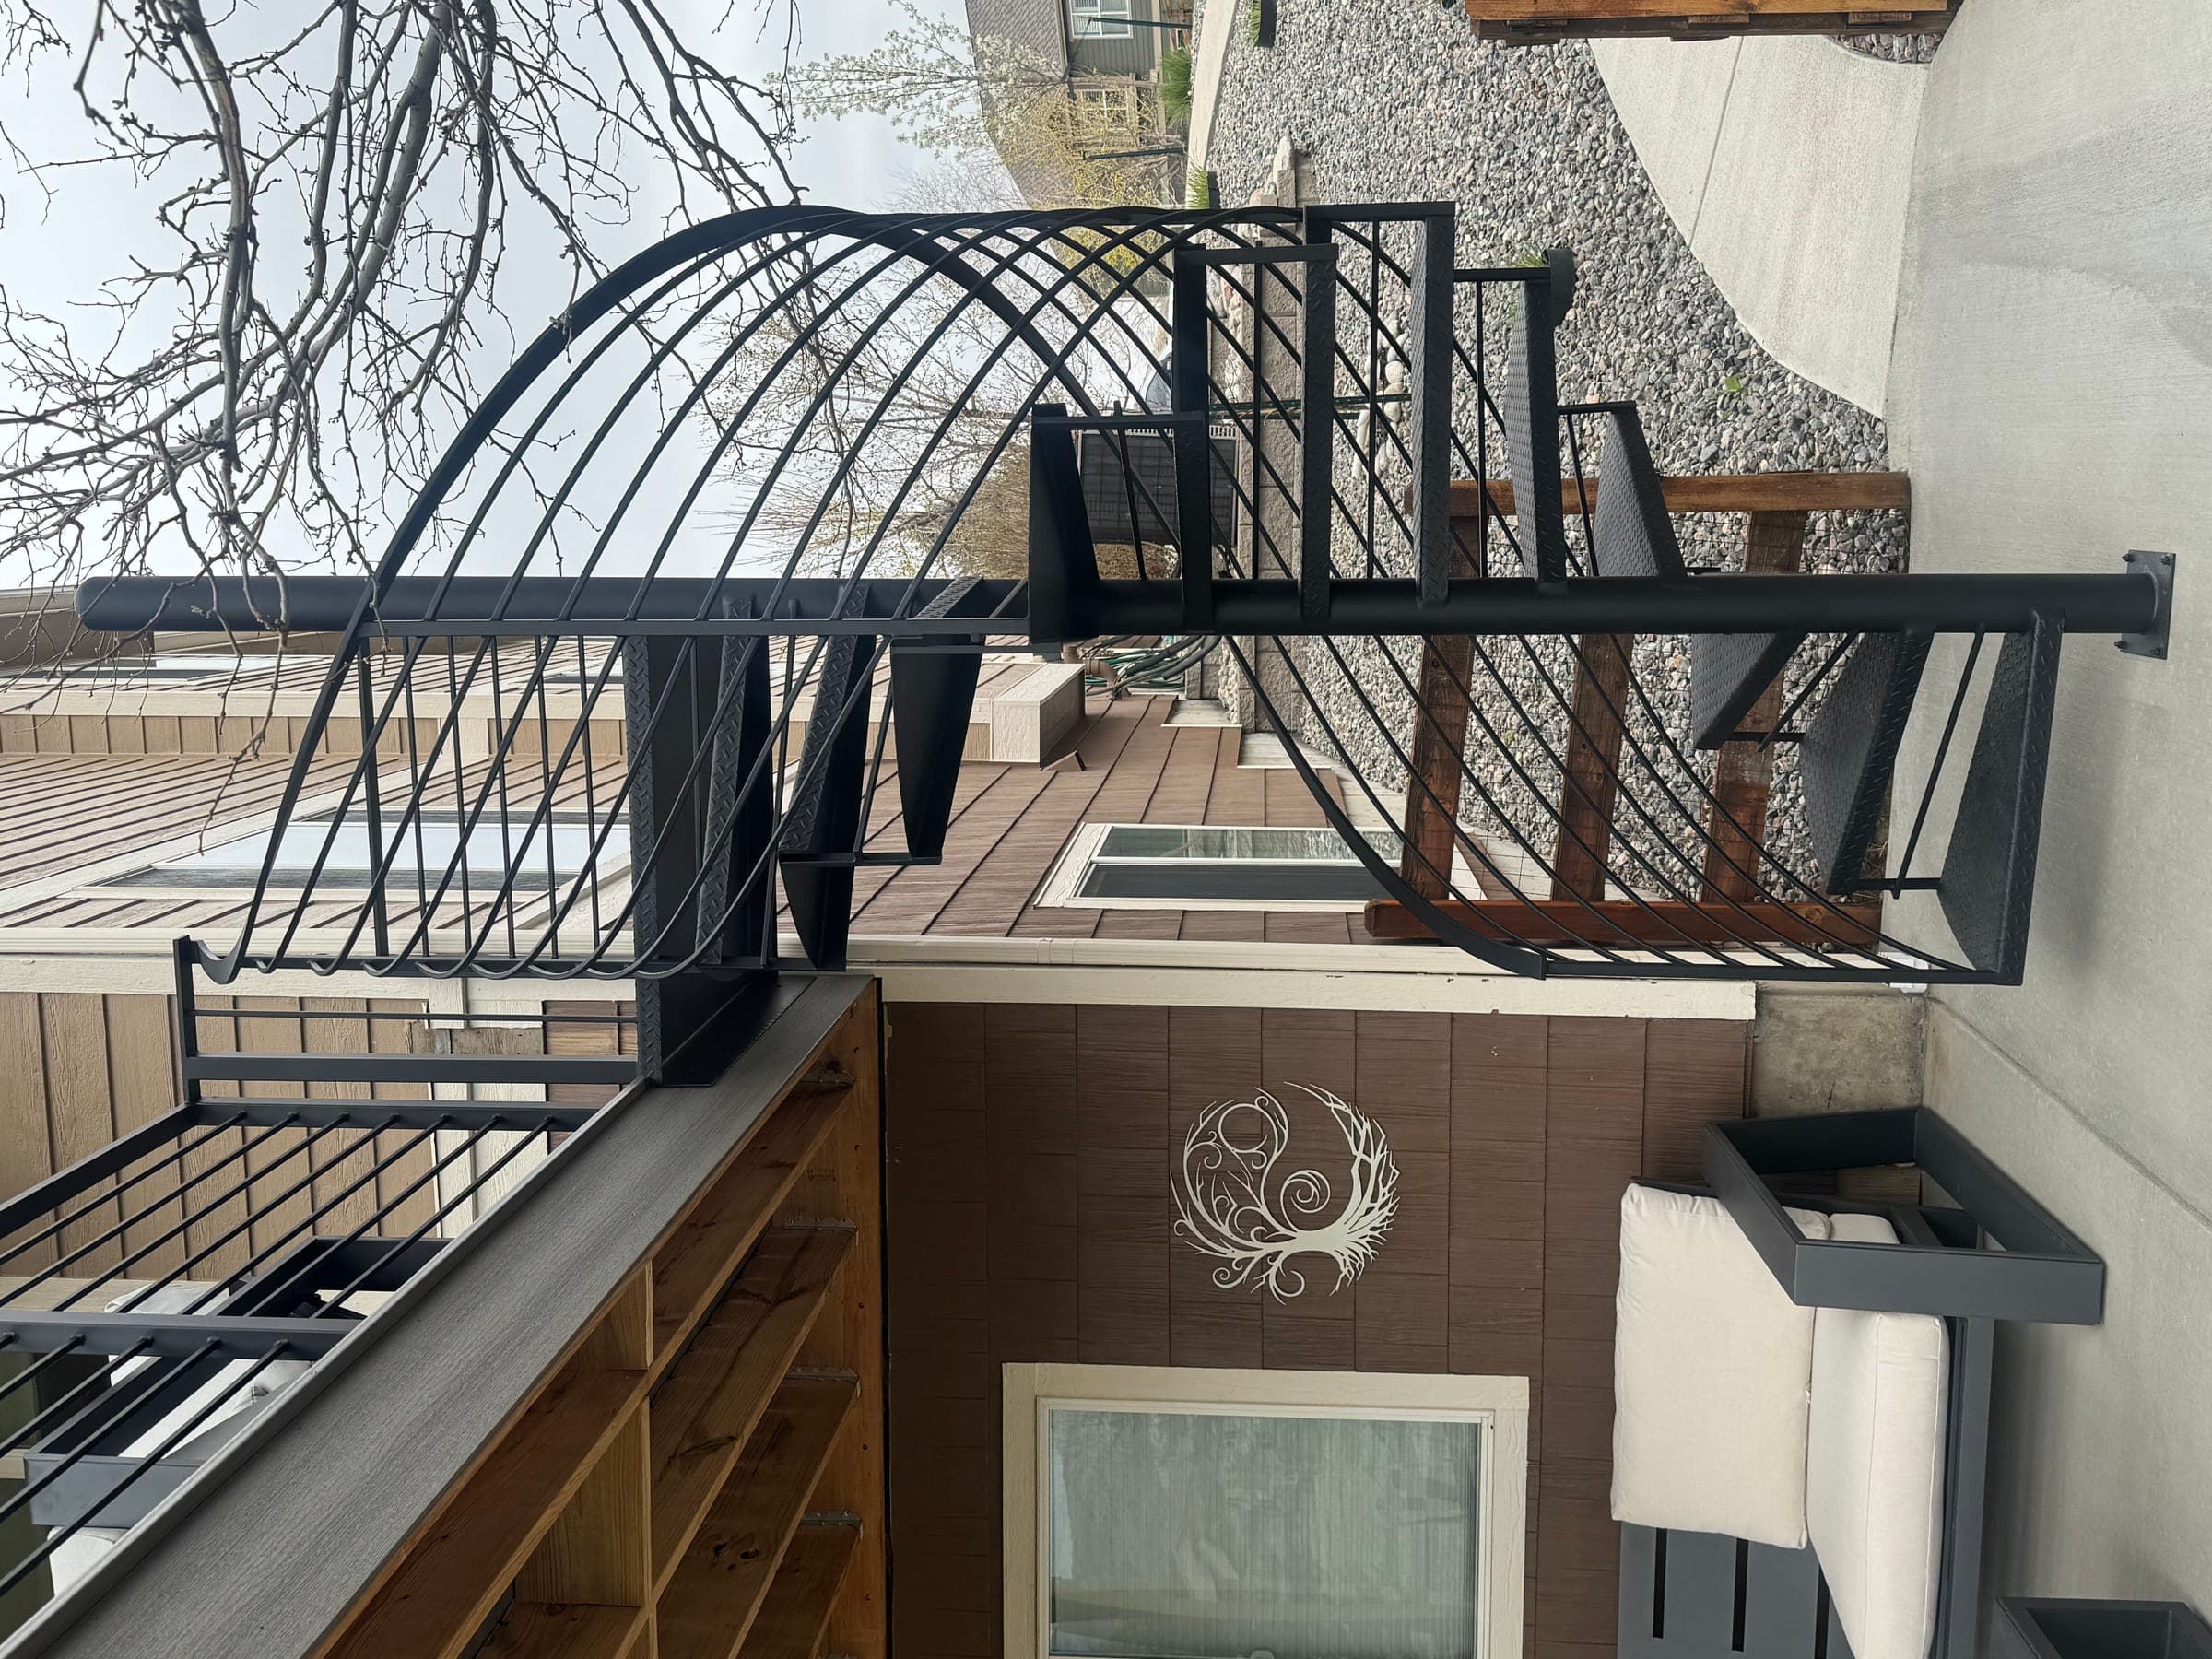
Ground-level composite. Opens straight off the great room — keeps the Front Range view wide open.
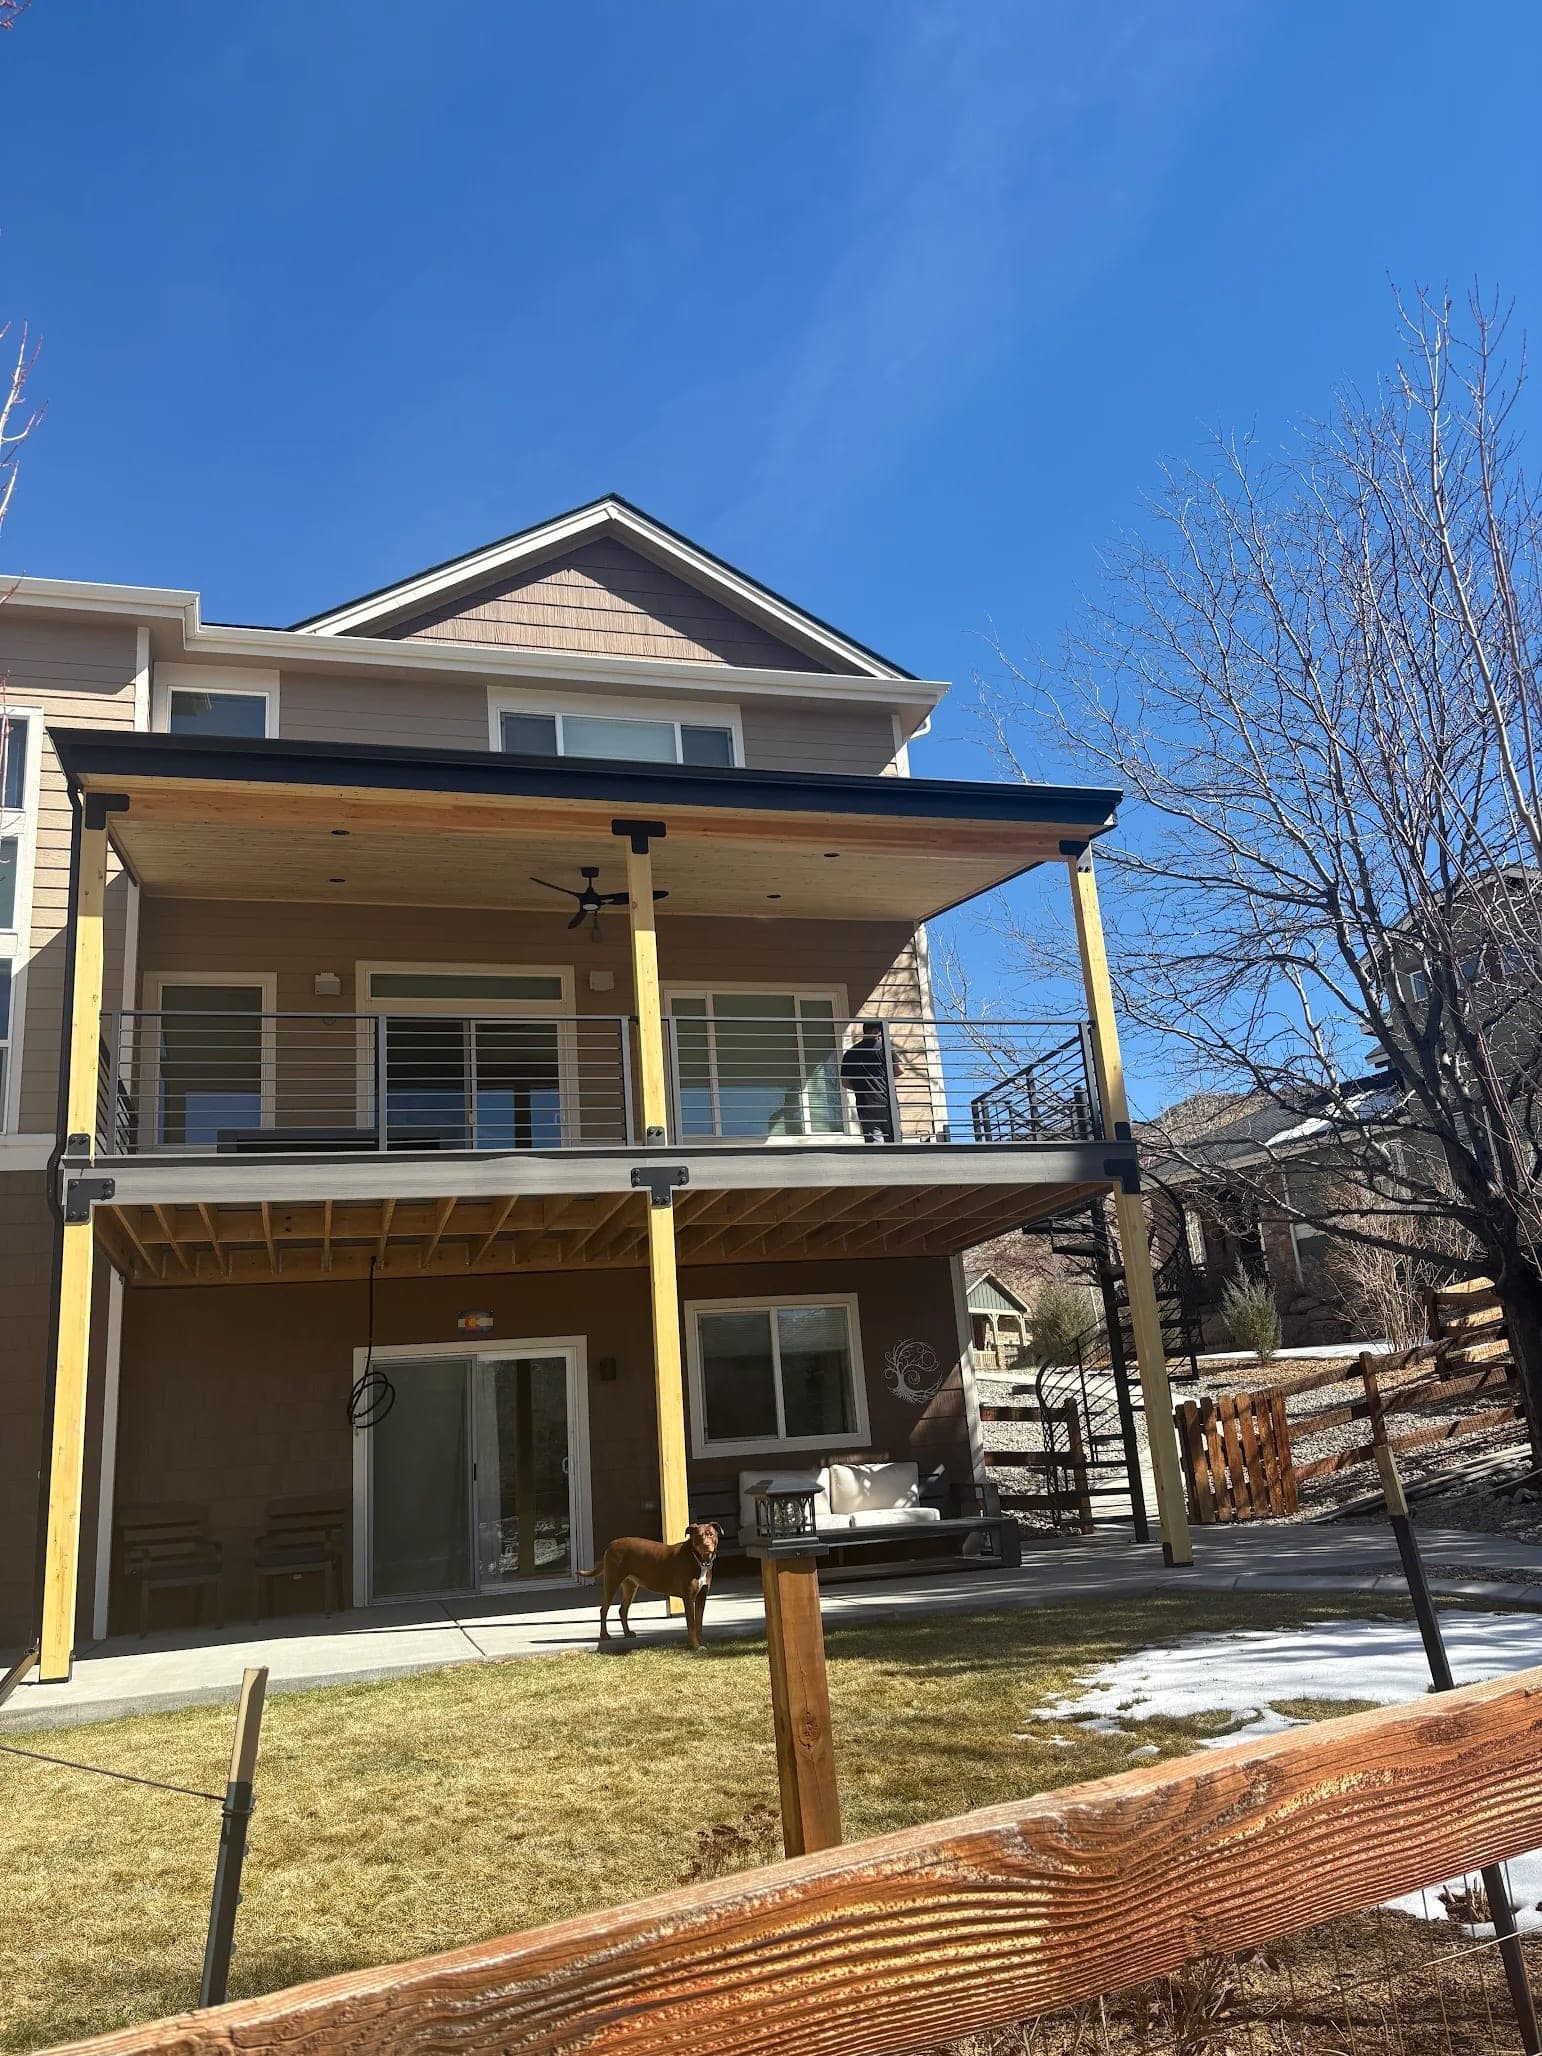
Covered deck. Shade in July, usable in an October snow shower.
Elevated & walk-out. Engineered posts and beams for 6 ft+ heights — common south of Denver.
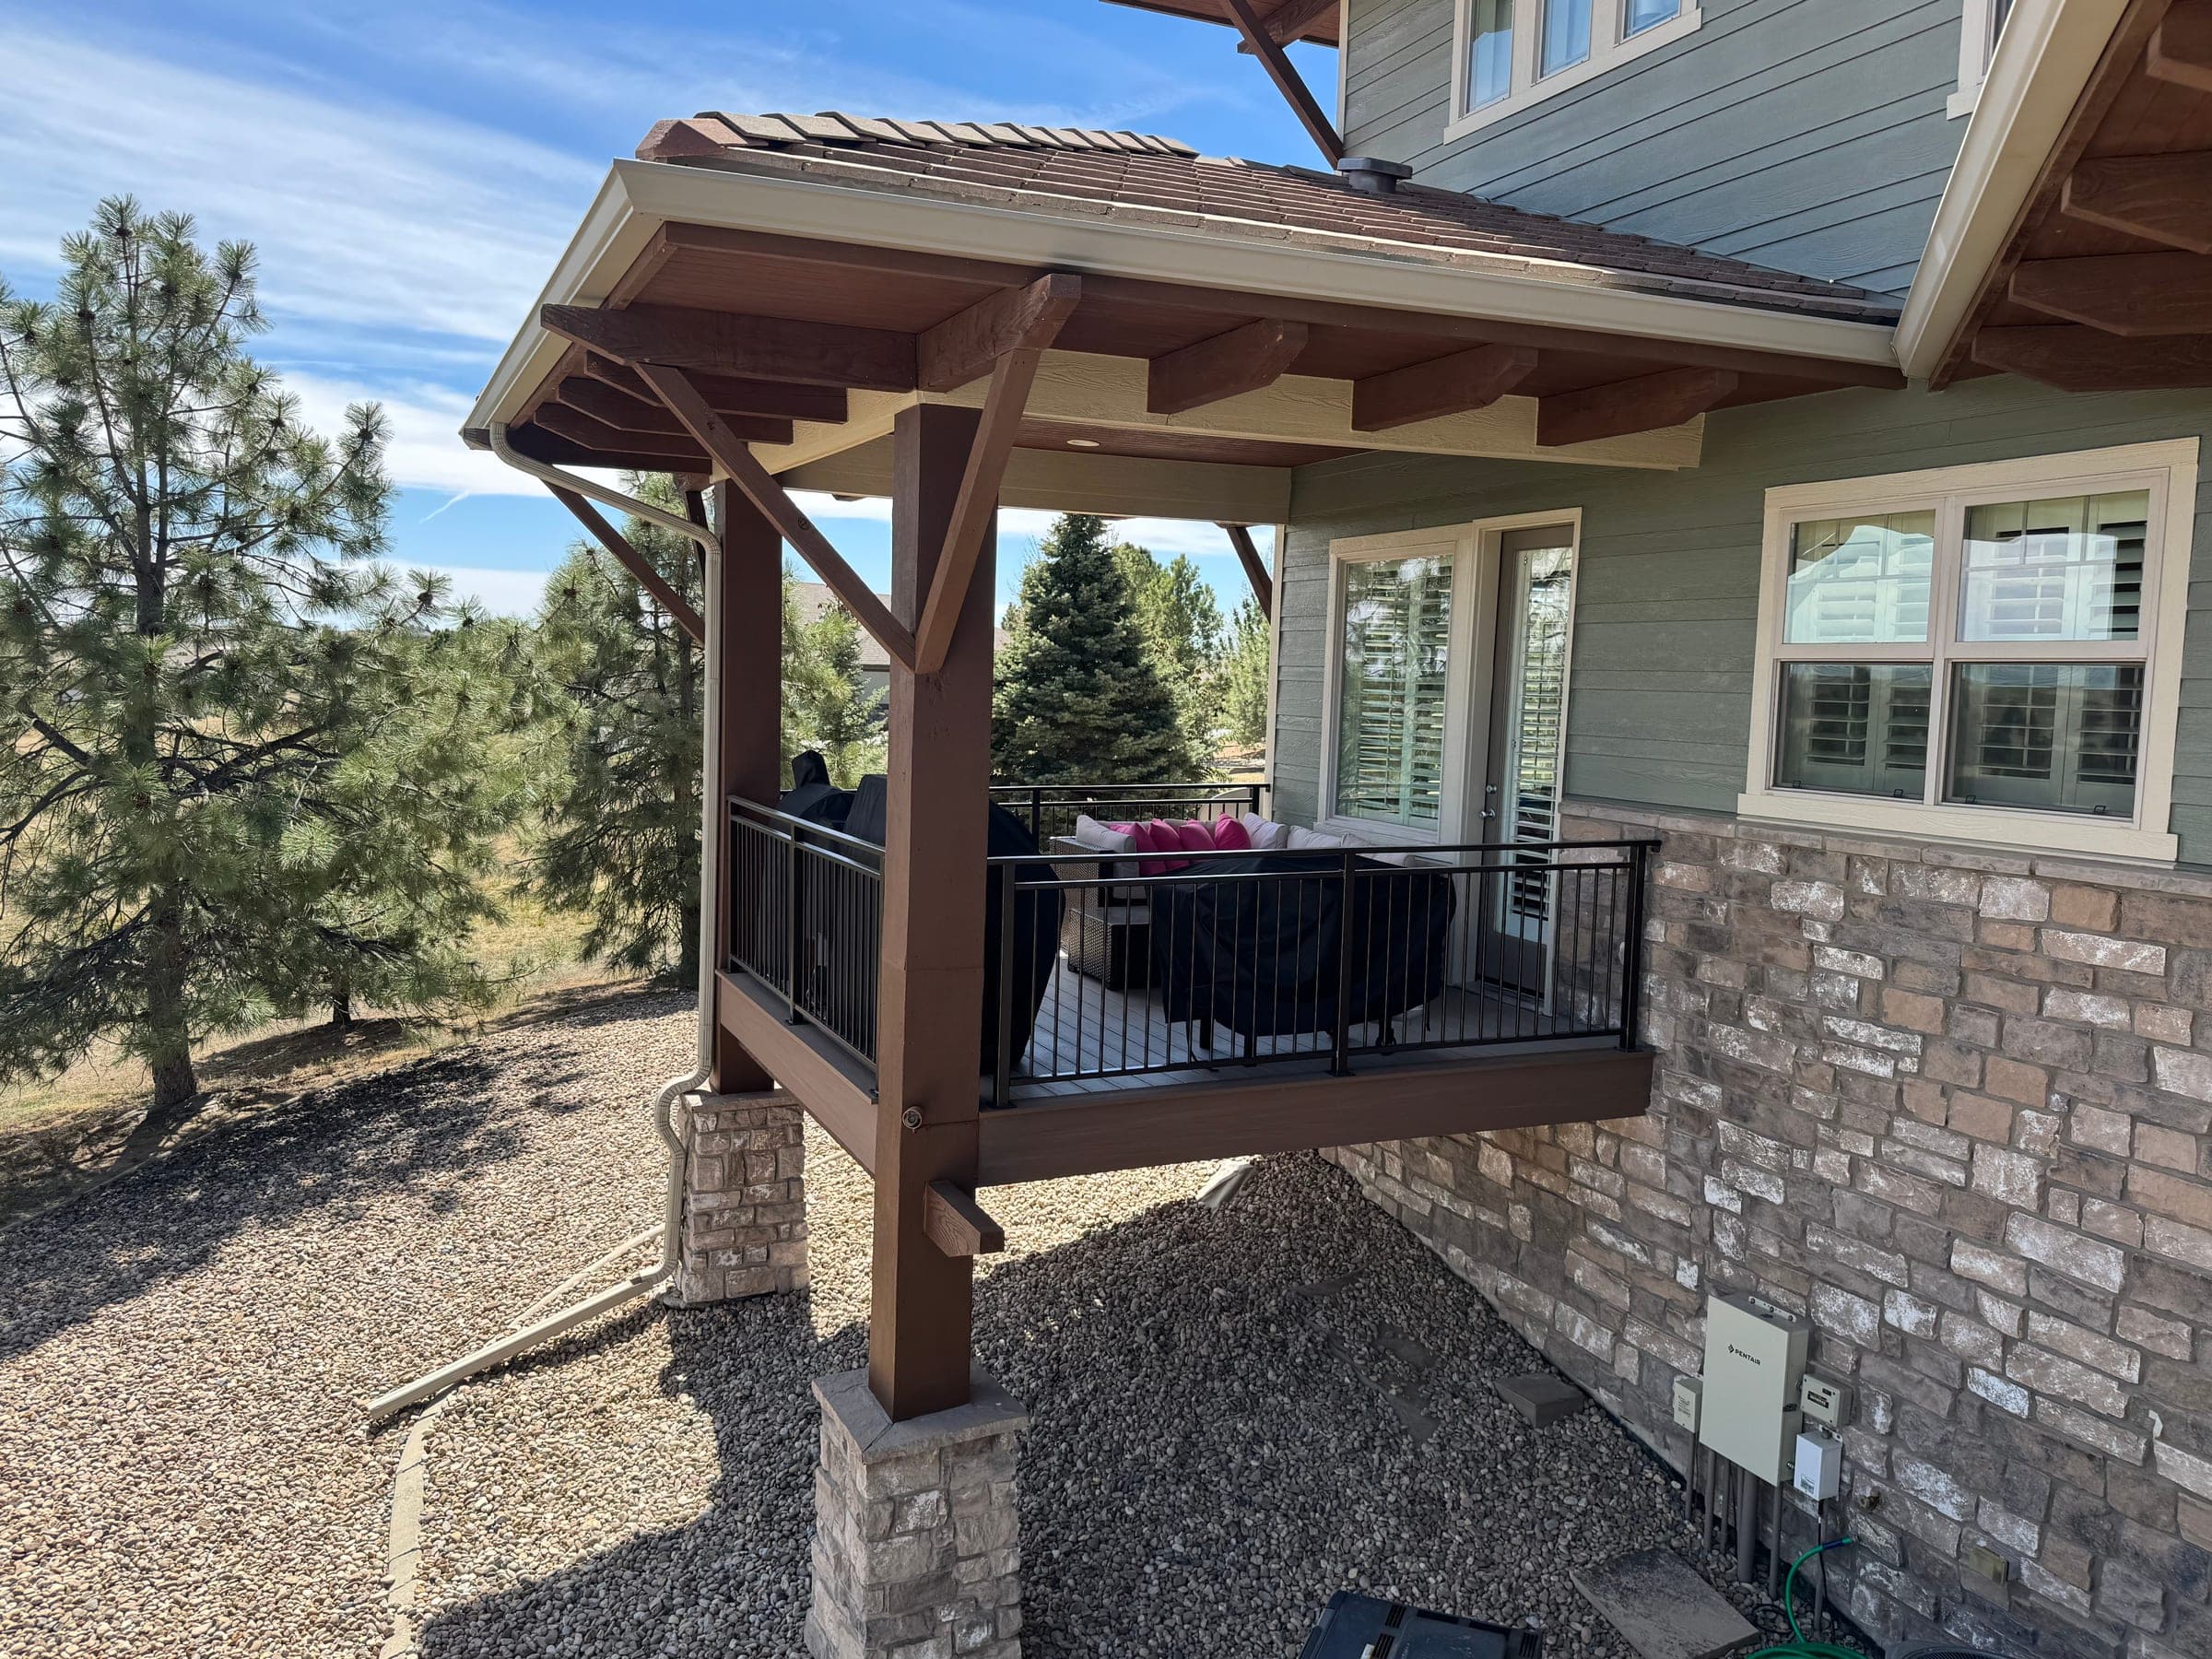
Two-tier composite. Two levels of living space stacked on a sloped lot.
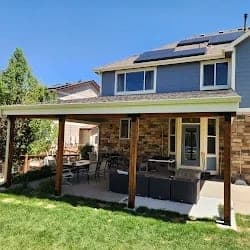
Tongue-and-groove cover. A finished ceiling overhead turns a deck into a true outdoor room.
 Watch · 0:14
Flyover. The build above from the air — how a Colorado custom deck sits in its yard. Opens the 14-second drone pass.
What makes a Colorado custom deck different
Every photo above started with the same constraint: a Colorado custom deck has to be designed for a mile of altitude before it's designed for anything else. That means framing sized for real snow loads, footings below the frost line, surfaces that tolerate 300-plus days of UV, and shade planned like a room — not added later as an umbrella. Get those right and the fun decisions (levels, curves, covers, kitchens) have something solid to stand on.
Start with how you'll use the outdoor space
Before boards or railing, decide what the deck is for and give each job its own zone. A dining table for six needs a clear area of roughly 10 by 12 feet once the chairs pull back; a lounge group of a sofa and two chairs wants about the same. Two zones plus a walkway between them is why so many decks land at 300 to 400 square feet — and why a deck sized off a sketch of the house, rather than off the furniture, so often feels cramped.
Some uses are structural decisions, not furniture ones. A hot tub puts 100-plus pounds per square foot on framing normally designed for 40, so its spot has to be chosen before the footings go in. An outdoor kitchen brings stone counters, gas, and power, and gets framed for those loads from the start. Decide them up front, even if you build them later.
Let the slope pick the layout
The south metro rolls, and the best deck designs use that instead of fighting it. A walk-out lot wants a two-tier layout — dining on the door level, a shaded lounge below — while a flat ranch lot often wants the opposite: one wide, ground-hugging platform that keeps the view open. If your yard has grade, look hard at the two-tier builds above before you settle for one big rectangle on stilts.
Multi-level decks also break up the climb. Instead of one long flight from a second-story door to the lawn, a mid-level landing becomes a place to sit, and each level gets its own purpose. Curves are the other layout move worth knowing about: a radius edge traced around a mature tree or a garden bed softens a big deck more than any material choice, though curved framing and heat-formed border boards take more layout time and cost more than straight runs.
Design the shade with the deck
At this altitude a west-facing deck without shade is unusable from four to seven in July. A pergola or solid-roof cover over part of the deck — not all of it — gives you a cool room and a sunny one, and a tongue-and-groove ceiling with lighting turns the covered half into a genuine outdoor living room, October snow showers included.
Hail changes the roof conversation here. Open pergolas only filter the sun; a solid roof or a polycarbonate cover keeps furniture and grills out of the May-to-September storms, and a screened porch or three-season room takes the same structure one step further for bug-free evenings well into the fall.
Pick materials and color in the sun, not on a screen
Most of our builds are capped composite — Deckorators is our go-to — because it handles Colorado's freeze-thaw and UV without a restaining schedule, but the brand and line matter less than people think. Our materials guide covers composite against hardwood, and our Trex vs. TimberTech vs. Fiberon comparison sorts out the brands. The decision that changes how a deck feels is color: a light gray or tan board runs 10 to 30 degrees cooler underfoot than a dark one in the same line. Set physical samples on the actual deck site and look at them morning and evening before you commit.
Mixing materials is where a design starts to look custom: a contrasting picture-frame border, a cedar pergola over composite boards, black aluminum railing against a warm wood tone, or a stone landing at the bottom of the stairs. Two or three materials that repeat the house's trim and stone usually beat five that compete.
Railing decides what you see
Railing is a third of what your eye reads from inside the house. Cable and slim aluminum systems hold a foothills view; composite and wood rails frame a yard more privately. Pick the railing with the view in mind, not from a catalog page.
The details that read as custom
Picture-frame borders in a contrasting board, stair-riser lighting, built-in benches along a rail line, a curve traced around a mature tree — these are the moves that make a deck look designed rather than assembled. Most cost hundreds, not thousands, when they're planned into the build; our add-on cost guide puts real numbers on each.
Lighting deserves its own mention, because it decides whether the deck gets used after dark. Low-voltage post caps, recessed stair-riser lights, and a soft strip under the rail or bench cost far less to wire while the framing is open than to retrofit later — run the wiring during the build even if some fixtures wait a year.
Design for January, too
Front Range decks see snow from October into May, and the best designs plan for it. Framing is sized for the snow load, not just for a summer party; stairs face away from the roof's drip line so they don't ice over; and there's an obvious edge to push snow off, using a plastic shovel along the length of the boards. Our guide to how much snow a deck can hold explains the numbers, and a covered section means less of the deck to clear at all.
A five-step design checklist
- List what the deck is for — dining, lounging, grilling, a hot tub — and size a zone for each.
- Note where the sun sits at 5 p.m. in July; that's where the shade goes.
- Walk the slope and decide between one level and two before anything else.
- Choose the railing for the view you want to keep, not from a catalog.
- Decide now on covers, kitchens, lighting, and hot tubs — even ones you'll add later — so the framing is ready for them.
From design to finished product
Designing and building with the same team means the drawing you approve is the deck that gets built. We measure the site, draw the layout, file the permit and HOA paperwork, frame it to the plan, and Pete walks every project personally — the attention to detail that separates a designed deck from an assembled one happens on site, not just on paper. Everything we build is guaranteed. Our process page lays out each step, and the portfolio shows the finished builds behind every photo here.
Want any of these ideas priced for your yard? Tell us what you're picturingand we'll walk the site with samples.
“Peter was great to work with. He really listened to what I needed and came up with a custom plan for our deck. I would highly recommend working with Haka!”
“Excellent experience with Pete and his crew. They are professional and absolutely know what they are doing. Several neighbors hired them after our project. Highly recommend!”
Ready to Talk About Your Deck?
Tell us what you're thinking — even if it's just a rough idea. We'll come take a look, talk through options, and give you an honest estimate. No pressure, no sales pitch.